Latex / Self-Levelling Floor Preparation Before Tiling
Preparation is everything in tiling. You can have premium tiles, quality adhesive, and expert fitting, but if the substrate isn't right, the whole installation will fail.
This is why self-levelling compounds (also called latex underlayment) are so important. They're the difference between a solid, flat base and one that causes problems later. I apply them on floor tiling projects across Warrington and throughout Cheshire — from Altrincham and Hale Barns to Knutsford, Wilmslow, and Stockton Heath — as a standard part of the process where the floor requires it.
Understanding why floors fail is closely linked to this — I'd recommend reading how long a tiled floor should last for context on why this stage matters so much to long-term performance.
What Is Self-Levelling Compound?
Self-levelling compound is a specialized concrete product that's mixed with water and poured onto uneven or unsuitable substrates. As the name suggests, it self-levels, creating a perfectly flat, smooth surface ready for tiling.
It typically contains:
- Cement binder
- Fine aggregates
- Polymers (latex) for flexibility
- Water-reducing admixtures
Why It Matters
Most substrates aren't perfectly flat or suitable for direct tiling:
- Concrete floors might be uneven, cracked, or damaged
- Timber floors can move or flex slightly — this is where a decoupling system may also be required alongside levelling
- Existing tiles may be at different heights
- Stone or screeded floors often have minor peaks and valleys
Tiling directly onto uneven surfaces leads to:
- Tiles cracking under foot traffic
- Lippage (uneven grout lines)
- Hollow spots under tiles (poor adhesive bond)
- Movement that breaks grout joints
For large-format porcelain floor tiling, a perfectly flat substrate isn't optional — it's what makes the installation possible. The self-levelling floor service page covers what's included in a professional levelling job.
A Real Example — Stockton Heath Floor
Here's a project that illustrates exactly what self-levelling compound makes possible:
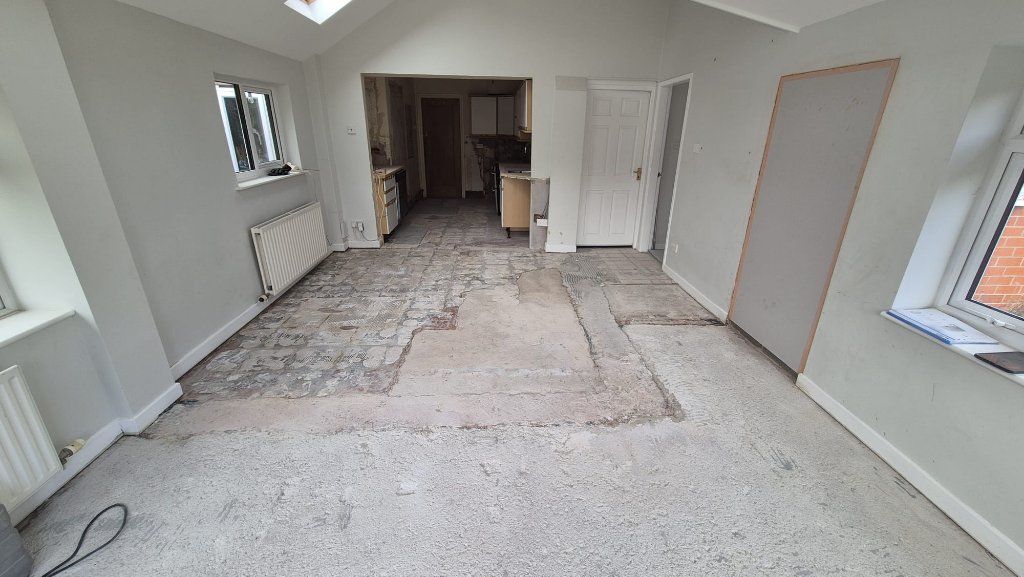
The Problem: A 55m² ground floor in Stockton Heath, Warrington, with a 12mm variation across the room. The client had chosen 600×1200mm porcelain tiles — completely unsuitable for the existing floor without levelling. A previous quote told them it was "fine as it is."
The Solution: Floor assessed with a 2m straightedge and digital level. Self-levelling compound applied to the full area in a single pour after correct priming with a bonding agent. Left to cure fully — 18 hours — before any tiling began.
The Result: A perfectly flat surface across the whole floor. The large-format tiles went down without a single rock or lippage issue. The client couldn't believe the difference. You can't see the levelling — you can only see the result.

This kind of work is standard across all floor tiling projects in Warrington and across Cheshire when the substrate demands it, especially for large-format porcelain. The preparation stage is what makes or breaks the finished result.
How Self-Levelling Compound Solves This
A proper self-levelling application creates:
- A perfectly flat surface - accurate to within 3mm over 3 meters
- A stable substrate - eliminates minor movement and flex
- A uniform base - ensures consistent adhesive thickness
- Better adhesion - tiles bond properly across the entire surface
Types of Self-Levelling Compounds
Standard Self-Levelling
Suitable for moderate elevation differences (up to 50mm). Faster setting and good for most residential applications.
High-Flow Self-Levelling
For larger level differences or where faster installation is needed.
Latex-Modified Self-Levelling
My preference. The latex (polymer) component adds flexibility, reducing cracking and improving adhesion. Especially important over timber floors or in areas with minor substrate movement.
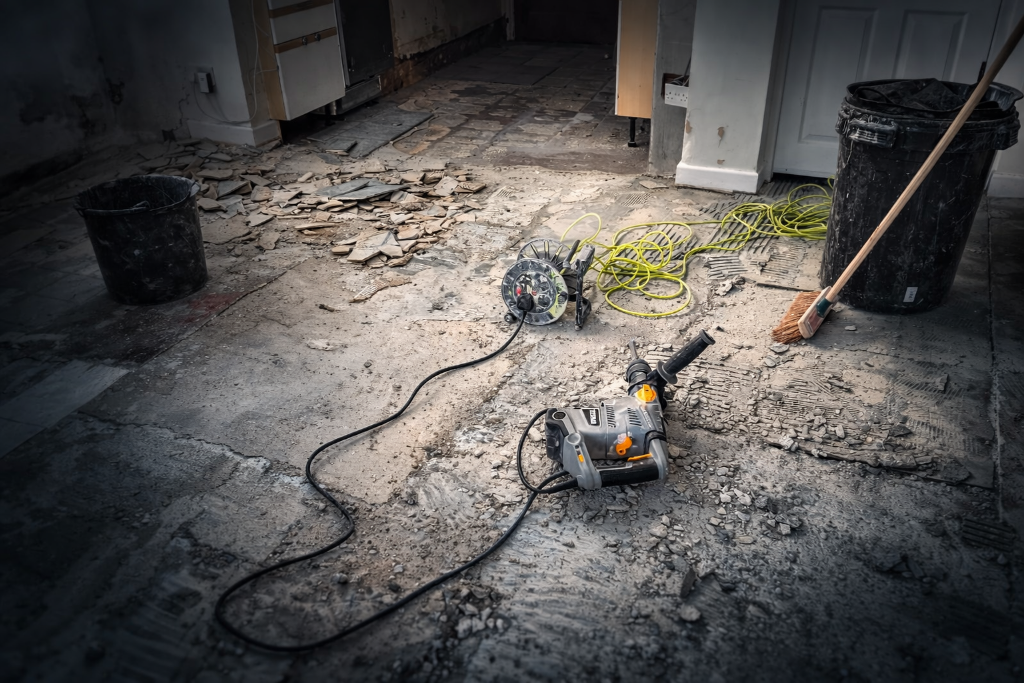
The Application Process
This isn't a DIY job — it requires skill and experience.
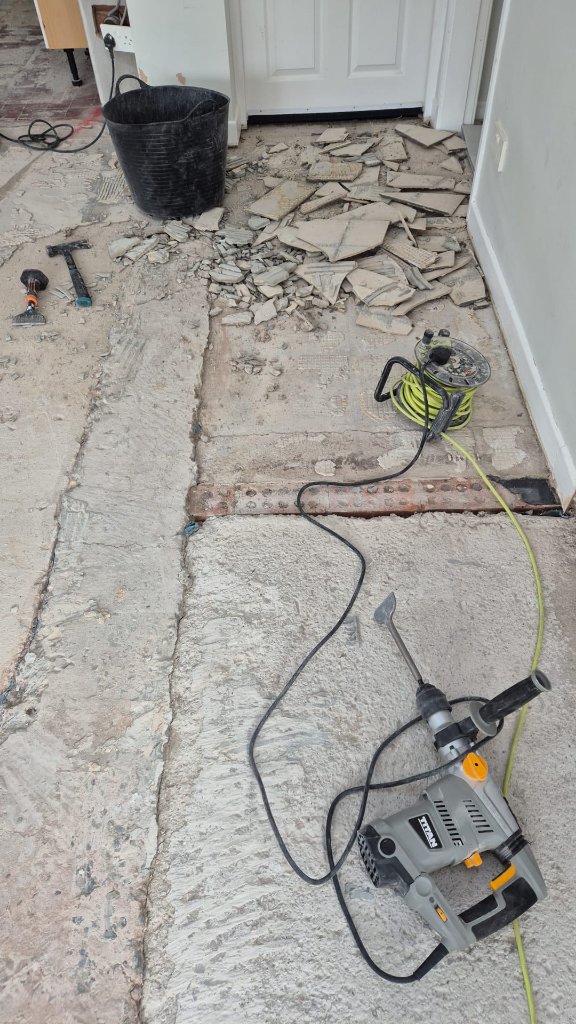
1. Substrate Assessment
First, I assess what we're working with. Is it concrete? Timber? Damaged? This determines the type of compound needed. I use a 2m straightedge and digital level to map high and low points.
2. Preparation
- Clean the substrate thoroughly
- Repair any significant damage
- Prime the surface correctly for the compound being used
- Seal any cracks
3. Application
- Mix the compound to the right consistency
- Pour it across the area
- Work it into corners and edges
- Allow it to flow and self-level
- Check levelness and correct any issues
4. Curing
Self-levelling compounds typically cure in 24-48 hours, depending on thickness and product specification. No traffic or work during this time — this is non-negotiable.
5. Ready for Tiling
Once cured, the surface is perfectly prepared for adhesive and tiles. For large-format tiles, I then use mechanical levelling clips throughout the installation — see why I use tile levelling clips for why these matter.
Real Examples From Recent Projects
Here's how self-levelling compound transforms uneven substrates across Warrington and Cheshire:
Job Example 1 — Residential Extension, Warrington
Before: Open-plan extension with significant variation. Old concrete and new screed at different levels. This floor needed 12–15mm of compound to create a level base for tiling.
Preparation: Existing finishes stripped, substrate cleaned and primed. Self-levelling compound applied in a single pour across the full area.
Job Example 2 — Kitchen Refurbishment, Cheshire
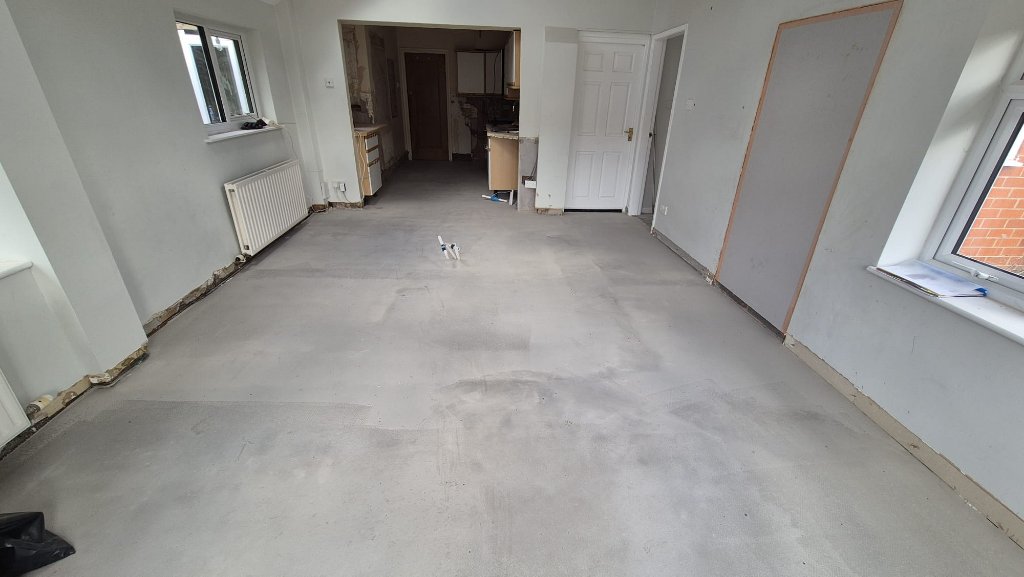
After levelling: Perfectly flat surface cured and ready for tile installation. No high spots, no hollows. The preparation work is invisible but essential.
Professional setup: The right tools and materials matter. Proper mixing, application speed, and timing are critical to achieving a flat, durable base.
This is the standard I apply to every floor tiling project across Warrington, Altrincham, Knutsford, and Cheshire.
When Self-Levelling Is Essential
You should absolutely use it for:
- Timber floors - the polymer flexibility prevents cracking and allows for minor movement
- Uneven concrete - especially with variations greater than 10mm
- Damaged or worn substrates - fills minor cracks and creates a uniform surface
- Wet rooms - provides a stable base for waterproofing systems. See the wet room installation page for more
- Large-format tiles - where substrate variations are immediately visible
- Epoxy grout projects - where a perfectly flat surface ensures consistent grout lines. See epoxy grout vs cement grout for more
Cost vs. Benefit
Self-levelling compound isn't free, but it's essential insurance:
- Protects your tiles and grout from failure
- Prevents costly remedial work later
- Ensures a professional finish
- Extends the life of the installation
The cost of proper preparation is always less than the cost of fixing failures. This applies whether you're in Warrington, Altrincham, Knutsford, Hale Barns, or anywhere across Cheshire.
Common Mistakes
Using the Wrong Product
Standard concrete leveller isn't the same as self-levelling compound. Don't cut corners here.
Skipping Priming
An unprimed surface won't bond properly with the compound. Prime first, always.
Not Assessing Substrate Movement
On timber floors especially, you need flexibility. Latex-modified compounds are essential.
Rushing the Cure
Self-levelling compound must fully cure before tiling. Check the manufacturer's specifications.
The Bottom Line
Proper floor preparation using self-levelling compound is non-negotiable for quality tiling. It's not glamorous, but it's the foundation of a professional installation that'll last.
At Paul the Tiler, every project gets proper preparation. If the substrate isn't right, we fix it. Whether it's large-format porcelain, wet room installation, or epoxy grout finishing, proper prep is always the foundation. That's how you ensure tiles that look perfect for decades — whether that's a bathroom in Altrincham, a kitchen in Knutsford, or an open-plan floor in Warrington.